|
|
The Olympus µ-mini IR-Diva is a
IR-modded version of the original Olympus µ-mini. The filter glass in
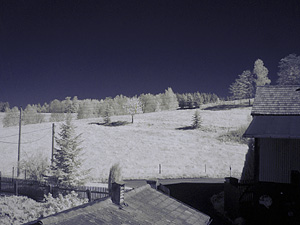
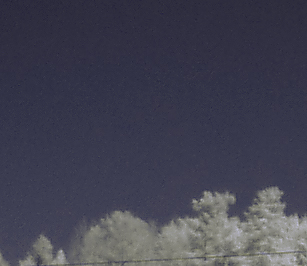
front of the sensor has been replaced by a piece of normal glass. Focus works very good but the exposure metering failures. Normally you will need from -1.3 to -2 EV exposure compensation, it depends somewhat on the white balance and the daytime. In some circumstances you will have to use spot metering for preventing overexposure. The exposure time with IR-Filter is very short, you can do handheld work even in the evening hours. Shooting without tripod gives you a lot of flexibility. Also smearing caused by wind is no problem anymore. Colors: µ-mini IR-Diva without filter (WB:
auto): with RG715 (WB tungsten), -2 EV
compensation: with RG715 (WB Fluorescent), -2 EV
compensation: comment: So far, so
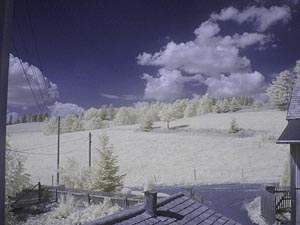
nice. Doing the following post precession we get this picture:
Looks not that bad. For comparison an IR picture from the
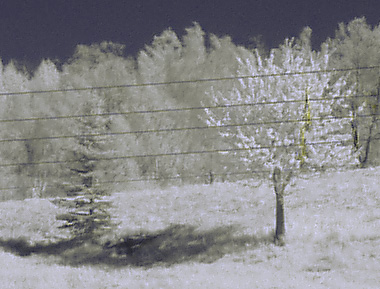
unmodified µ-mini taken last year: In terms of colour the unmodified µ-mini is more vibrant with a weaker wood effect. So the sensitivity boost of the modification takes it toll. Sharpness: The second is from the left down
corner: The third from the right border of
the image: It's better than the unmodified version. The µ-mini seems to be a very good base for IR-modding. The lens isn't fast and has little zoom (35 - 70 mm). On the other side it consists of only 5 elements in 3 groups, so you have only 6 surfaces and therefore little scattered light and a good contrast. The good control of chromatic aberrations in visible light is a hint for good sharpness beyond the visible spectrum. You should be able to print a nice little poster from that shot. Noise For some own tries I've
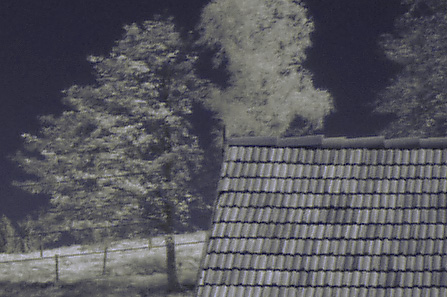
provided a original IR file out of the camera: [go back to sensitivity list] May 2008 |
||||||||||||||||||||||||||||


